Facial Gua Sha
7 years ago by
I have been hearing SO much about facial gua sha lately, like SO much, so when Sandra invited me one of her gua sha tutorial classes and we performed gua sha on half of our faces, I was shocked when I looked in the mirror and after only one treatment saw that half of my face was noticeably higher, tighter, and brighter than the other half. Seriously. Luckily she let us perform gua sha on the other half before sauntering out in the world with a lopsided face. In honor of Relationships Month, I thought we could all spend a little more time nurturing our relationship with our face, so I asked her to give a step by step tutorial and explain exactly what gua sha is and does…
Adding facial gua sha into your skincare routine can amplify results like brighter, smoother skin surface, more contoured and lifted features (jawline, cheekbones, brows, eyes), less congested and inflamed acne, decreased puffiness, reduced appearance of wrinkles. So many users also report decreased tension in jaw, face and neck, reduction of headache and sinus congestion, a simultaneous lift of energy while also feeling more calm. This is one of my favorite aspects of facial gua sha – that it not only delivers on beauty, but strengthens health too.
Powerful, effective skincare doesn’t just come from a product. What Chinese medicine shows us, is that adding a movement technique like facial gua sha reinforces strong and healthy circulation – which is the key to getting that fresh, radiant glow your skin gets from professional facial work.
And perhaps the best part, it’s accessible. You can learn a simple routine for your own skincare ritual at home, which has the added benefit of giving you a calm, meditative personal practice that leaves you in a state of relaxation and ease (another precursor to beauty).


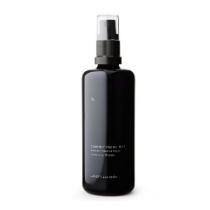
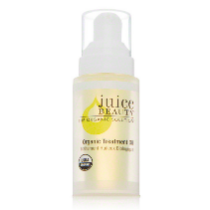
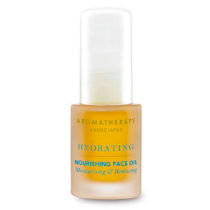
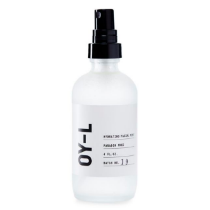
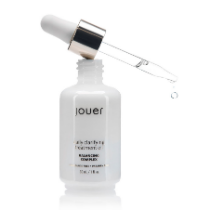
To prep the skin make sure it’s clean and well hydrated with a bit of oil, something to allow the tool to glide across your skin.
We start gua sha with our necks because whatever is happening in our face, is happening in our neck. If your face is tight then it’s coming from a tense neck. It’s a really important area to work open and to be free of tension.
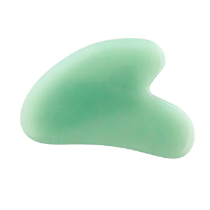
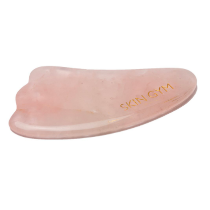
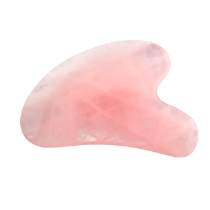
Back: Place the Sculpting V, or double prong edge of your tool on either side of your spine on the back of your neck. Stroke your gua sha tool with the flat side against your skin up into your hairline until you reach your skull. Move your tool side-to-side as a massage to finish your stroke. Repeat 5x with light to medium pressure.
Side: Place the flat side of your tool down on your shoulder where it meets your arm. Stroke the tool slowly up your shoulder and neck until you hit the bone under your ear. Finish the stroke with a side-to-side wiggle to massage. Repeat 5x – then do the other side.


The front of the neck is often neglected and under treated. Now we can rectify that.
Front: Place your tool flat against your skin below your collarbone and stroke up and over the bone, pulling the tool up your neck. Follow the curve of your neck through the underside of your jaw. When you hit the jawbone, massage side-to-side. Repeat 5x, then do the other side.
Center: Start on your sternum just below where your collarbones meet. Turn the Sculpting V or double prong edge upside down so that it sits on either side of the midline of your throat. Very gently pull the tool up your neck all the way until you reach the underside of your chin. Massage side to side and repeat 5x.
Jawline Sculpt:
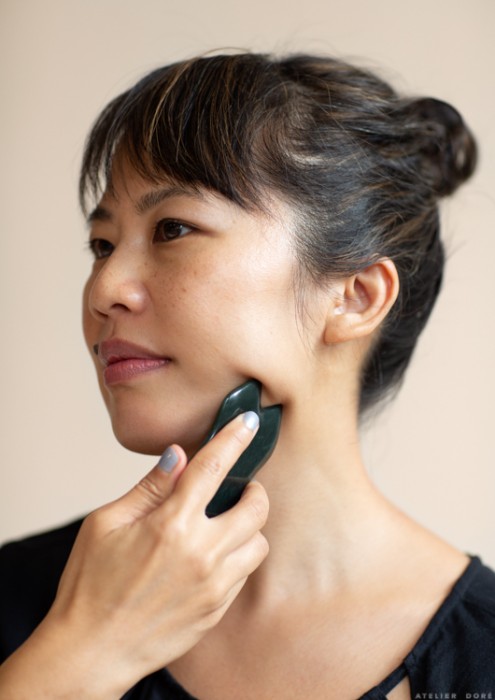
Make a face like you would shave your face and place the Sculpting V, or double prongs of your tool on either side of your jaw so that it pinches your jawline. Keep the tool flat while you push the tool along your jawline, following it back and up to your ear. Massage with an up-down wiggle in front of your ear. Repeat 5x, and do the other side.
Under Eye Pump:
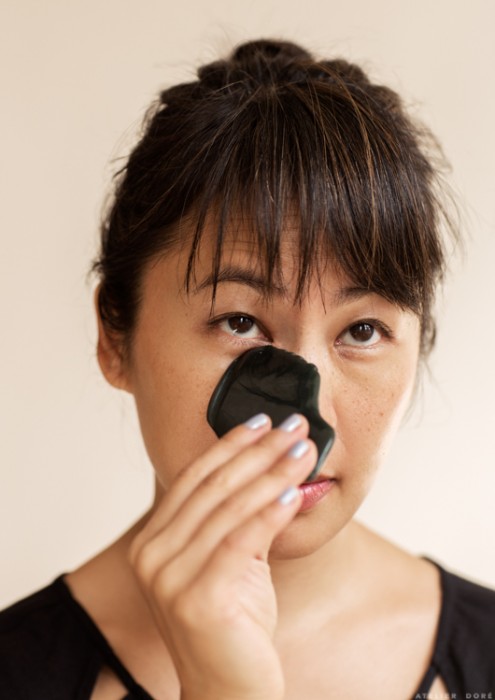
Use the rounded edge of your tool, or one of the prong tips and gently, with featherlight pressure, pump your tool from the inner corner of your eye to the edge of your nose. Do this 3-5x. Then, pump the midline from directly under your eye to the top of your cheekbone 3-5x. Finally, pump from the outer corner of your eye to the outer edge of your cheekbone 3-5x.
Under Eye Finishing:
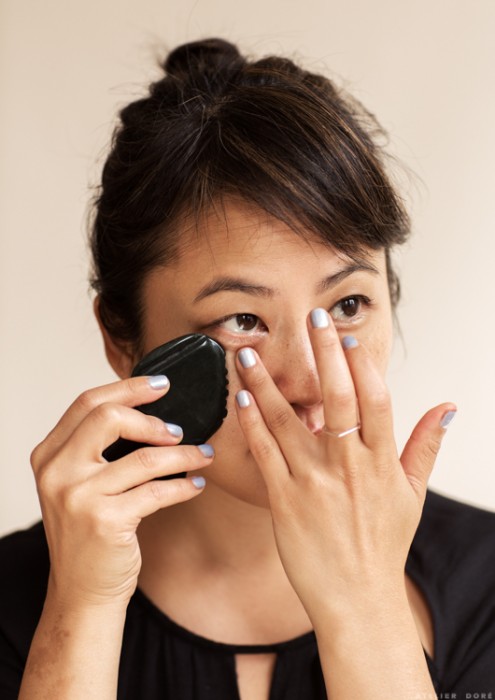
Using the same edge as the last step, gently gently with featherlight pressure stroke your tool from just under the midline of your under eye toward the inner corner of your eye until you reach your nasal bone. Do this 3-5x. Then, repeat from the midline of the under eye outward toward the outer corner of your eye, as you reach this point keep pulling the tool upward toward your temple and end at the hairline there. Massage with an up-down wiggle of your tool to end the stroke. Do this 3-5x with featherlight pressure.
Brow Sculpt:
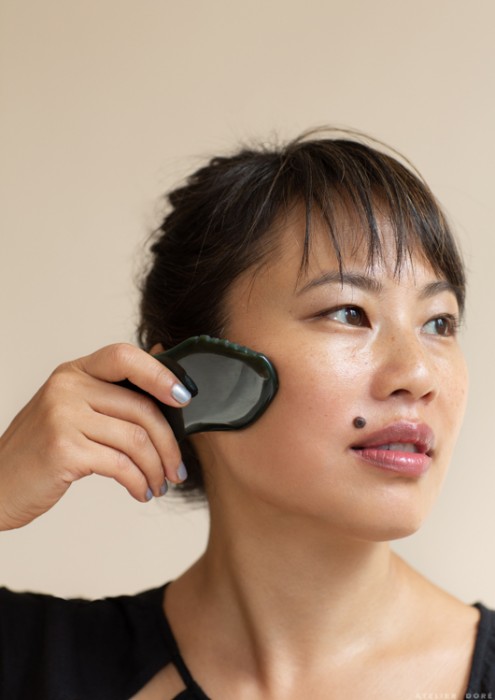
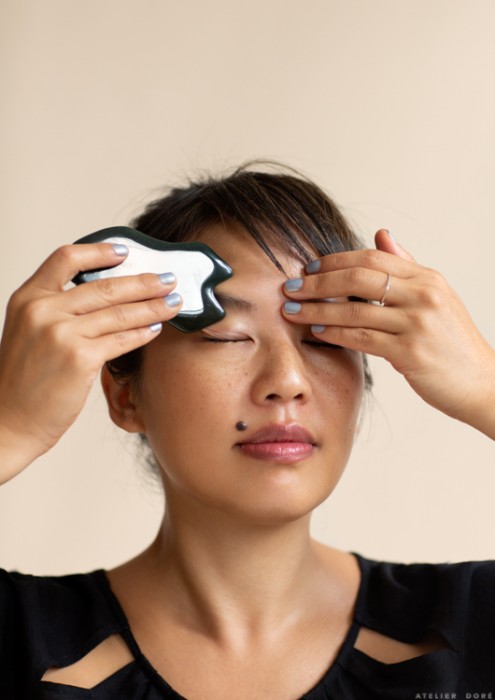
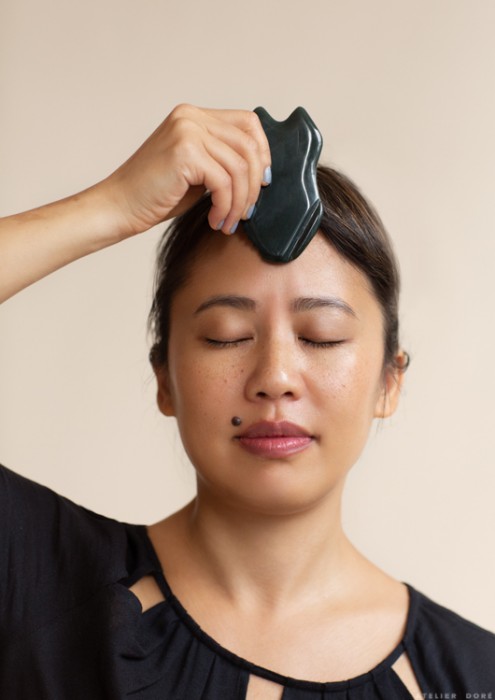
Place the Sculpting V on either side of your brow bone at the inner aspect of your brow. Pull the tool across, following the shape of your brow bone until you reach the outer edge. Turn the tool upward and finish by stroking up toward your temple and finishing in the hairline with a massage. Repeat this 5x.


















thanks! :) I really apppreciate when you write about tradicional techniques, simple but proved natural health and beauty regimes to be practised on a regular basis at home.
Quel dommage que vous ne traduisiez plus en français. Cette technique demande les mots justes et mon anglais n’est pas terrible.
Dommage.
Hi Sarah!
We are still translating into French, just a few days behind in the translations, unfortunately. If you check back in a few days it should be translated. Apologies for the delay! x Veronica
How many times a week is recommended to be safe with facial gua sha massage?
It’s ok ! Thank you ?
A video would be more useful ! :)